Remember the last time you were cleaning your refrigerator, shower doors with soap scum, or light fixtures? One thing is for sure – it wasn’t fun.
You’re not alone. One in three people in America overlook these hard-to-reach areas, like the corners and crevices of skirting boards.
Cleaning these spots is tough; dust and grime get trapped deep in tight spaces, clinging to uneven surfaces and edges that typical cleaning tools struggle to reach.
However, with the right know-how, deep cleaning doesn’t have to be challenging. We’ve gathered insights from trusted sources to bring you practical tips for tackling those tricky nooks and crannies during your deep cleaning routine.
Tools and Methods for Cleaning Nooks and Crannies
There’s an old saying that:
Fishermen get so accustomed to the sea that they barely notice the scent of salt and fish anymore.
This is similar to your home when it comes to cleaning—whether it’s your precious wooden walls, bedroom, or kitchen appliances—many people focus only on visible surfaces, often overlooking hidden areas where dust and grime tend to accumulate.
For instance, if you have striking black and white bedroom walls, you might notice dust settling more visibly on the contrasting surfaces, making it essential to pay attention to those hidden corners. However, You would need specialized tools and methods to clean these areas. We cover this in the next section.
1. Plastic Putty knife for Bathroom Soap Scum

This is a straightforward hack if you’re gearing up for a bathroom deep clean. Soap scum often builds up on bathroom surfaces and bathtubs, making it challenging to remove. Most people try scrubbing it away, but this method usually doesn’t work effectively.
I will prefer you to use a plastic putty knife to scrape off the soap scum, ensuring the surfaces are dehydrated before you start for the best results.
For this process, consider using synthetic soaps, which are typically available as liquid or gel soaps. Unlike traditional bar soaps, synthetic options are designed to leave minimal residue, reducing the buildup of tough soap scum on bathroom surfaces.
These soaps are often pH-balanced and gentler on surfaces and skin, making them ideal for keeping your bathroom cleaner longer.
2. Use a Crevice Vacuum for the Hard-to-reach Areas

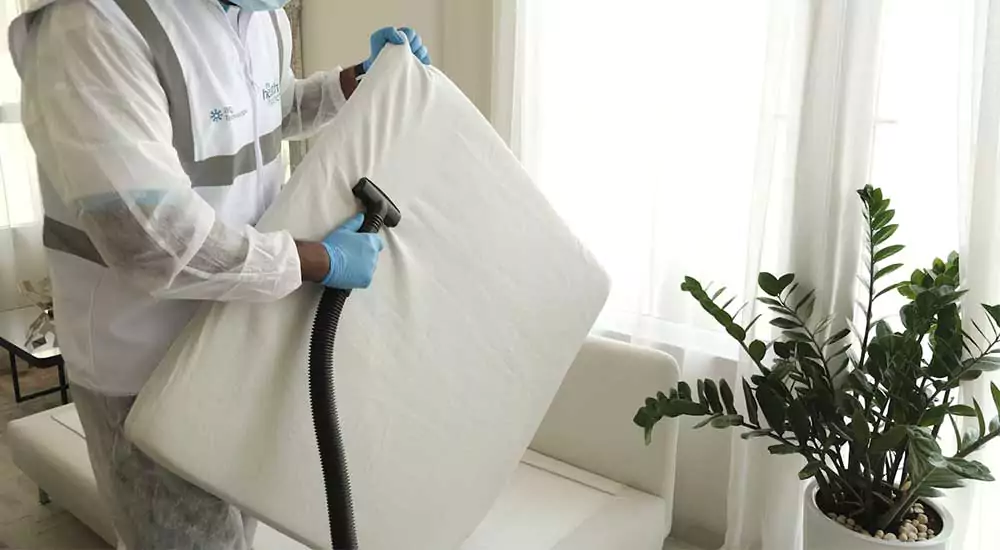
This tool is a must-try if you’re serious about achieving a spotless home. The crevice tool is designed to reach tight spaces where a regular vacuum is too bulky to fit.
This tool is invaluable for tackling tricky areas during a deep clean, such as fan blades, air vents, pantry crumbs, between couch cushions, and those hard-to-reach spots beneath appliances like the refrigerator or oven.
Don’t have a crevice tool for your vacuum? No problem! I got you covered. You can make a DIY version using a paper towel roll, let me demonstrate to you how. Simply attach an empty paper towel tube to the end of your vacuum hose and pinch the tip to reach those tight spaces effectively.
You can then tie it using a rubber band. It won’t be as effective as the former, but it still cleans those trick areas that are hard to reach.
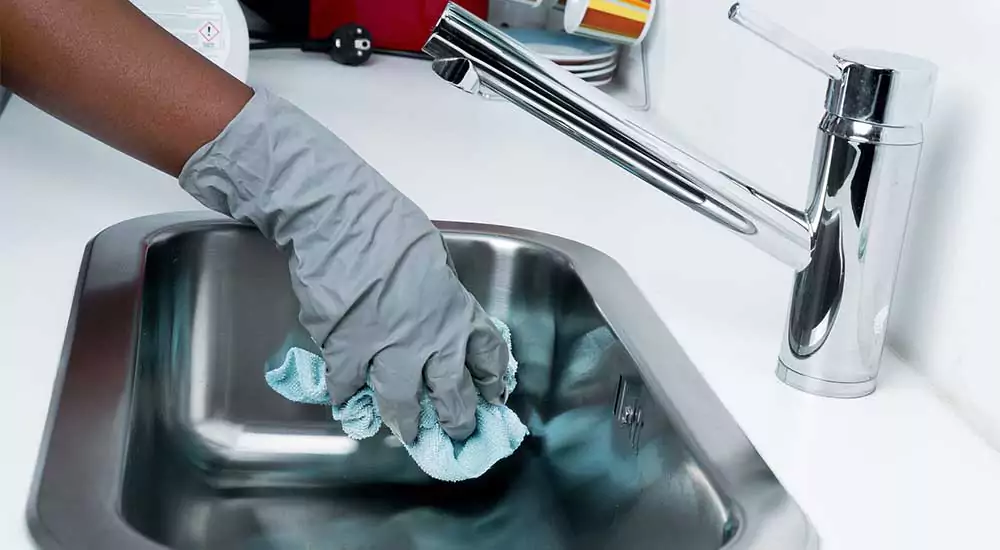
3. Drill Brush for Kitchen Sinks

If you’re asking how to deep clean your kitchen, this hack works well for kitchen sinks.
The kitchen sink is generally clean, but if you want it genuinely spotless, including the sink drain, I would suggest you use a handy tool—your everyday drill. Follow these steps to make it “cleaning-ready” without risking damage to the sink.
Start by inserting a machine screw into the brush head, ensuring that the screw head fits securely in the brush’s hole.
On the other side, slide a washer onto the screw and fasten it with a nut. Tighten the nut with a wrench, but be cautious not to over-tighten, as this could crack the brush’s plastic. Finally, attach the scrubber head to the drill, and you’re ready to tackle that sink!
Put some detergent or dish soap in warm water. Dip the drill brush into the solution so it can catch some foam. Start the drill and point it on your sink, including the sinkhole.
4. Cleaning Walls with Floor Swiffer

Cleaning walls will be a routine if you have kids around. If it’s not crayon markers, it’s oil stains or soot stains. Removing these stains may require unique cleaning approaches.
But if it’s superficial stains like cobwebs, personally, a floor Swiffer is better. It’s simple: Attach a dry cloth over the rectangular end of the Swiffer, secure it in place, and glide it along the wall to clean it.
The Swiffer’s extension handle allows you to reach high surfaces quickly and safely, eliminating the need for a step stool or ladder. Throw the disposable cloth once you’re finished dusting.
As said earlier, this approach is specifically for cleaning cobwebs and soot. Try using baking soda or an all-purpose cleaner for tough stains on white walls.
5. Garden Gloves for Ornaments and Trinkets

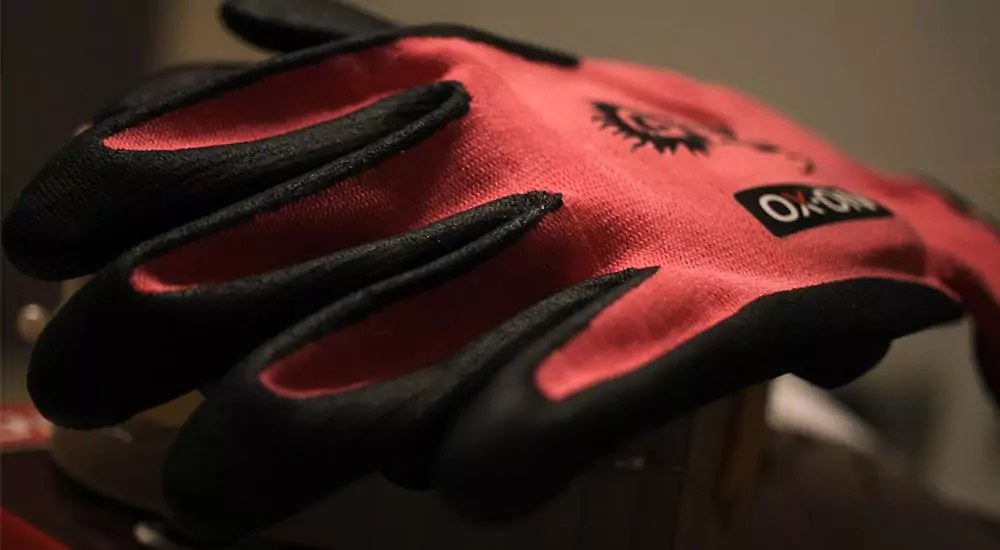
You can use a garden glove if you have knickknacks or small dusty ornaments you can’t clean with a household rag.
Many of these areas are small, making reaching into the nooks and crannies challenging. A helpful trick is to use a cotton garden glove. Slip it on, and then use your fingers to dust those tight, hard-to-reach spots quickly.
Dampen a cotton glove with a small antibacterial solution for an effective clean. This added touch will help ensure thorough sanitization.
6. Microfiber Duster for Appliances

Home appliances gather a lot of dirt, especially behind washers, refrigerators, and dryers.
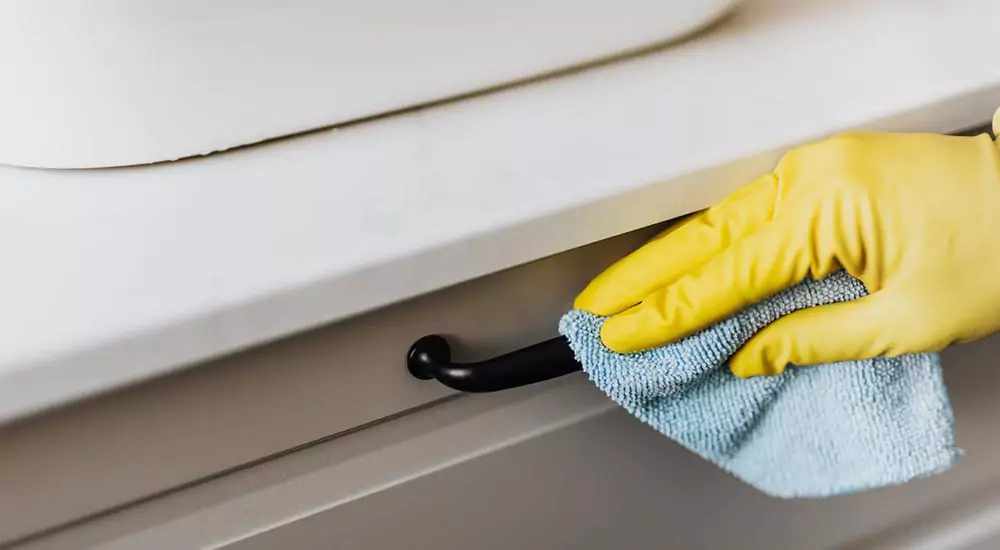
For a deep clean, a long-handled microfiber duster is excellent for reaching tricky spots on appliances. However, move appliances away from the wall to thoroughly clean behind and around them for the best results.
Clear out any dust bunnies hiding behind them, and wipe down surfaces with warm, soapy water to leave everything fresh and spotless.
Conclusion:
Cleaning nooks and crannies may not be the most enjoyable part of deep cleaning your home, but it doesn’t have to be exhausting with the suitable methods and tools. This article has provided helpful insights to make the process easier for you.


Leave a Reply