Have you ever been awestruck by a mere glimpse of someone’s home at the exact moment you entered it? When I first looked at the Board and Batten Wall at my friend’s home, I was fascinated to see how it had added elegance, charm and delicacy into her space. After that experience, I was motivated to reflect upon DIY Board and Batten Walls Ideas and style my home using them.
Understanding Board and Batten Walls
Board is a term that refers to wide wooden panels while batten means narrow timber strips. Board and Batten Walls are those ornamental and decorative patterns created on walls that add grace and artistry which is attained by incorporating broad and thin pieces of wood.
In ancient times, barren and boards were used in the exterior part of the home. Board and batten in the exterior of the home gave definition to the structure of the house, increased its worth and gave the residents feeling of contentment. Now it is used as a home decor and to store accessories.
These were considered to be outdated for the time being but now people have begun to realize the value of walls adorned by this technique.
Top 5 Ideas to Create DIY Board and Batten Walls Like A Pro
Here are 5 ideas and a step-by-step guide to join the bandwagon. Happy reading and learning!
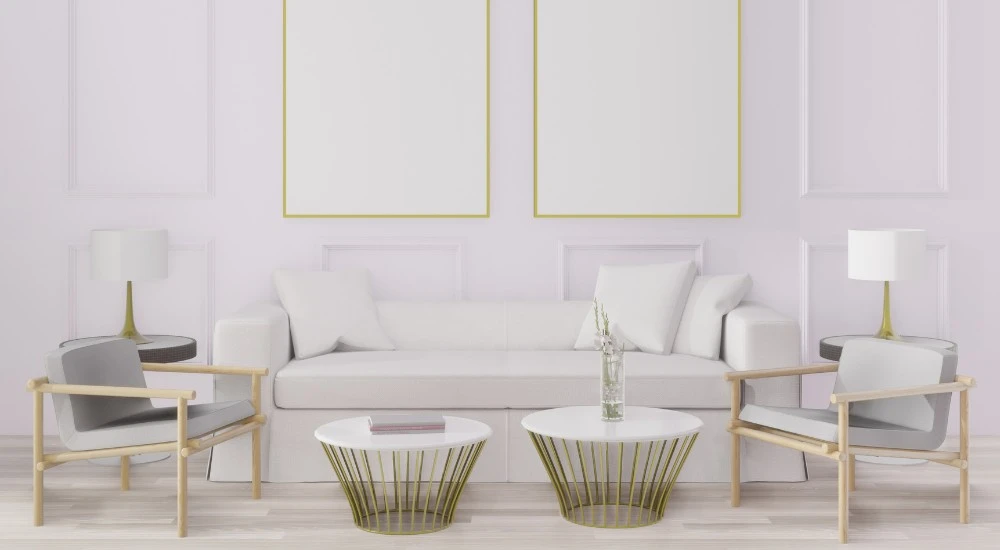
1. Living Room Board and Batten Wall Decoration

You can adorn the living room by using timber in horizontal as well as vertical order. By using multiple strips of timber in a contrasting scheme of colors, you can create your own board and batten wall in the living room.
It is a great idea to upgrade your living room. You can also place paintings, and rugs that compliment the furniture and paint of your living room. In case you are a Phytophile (Plant Lover), you can place plants near to the wall. Rustic board and batten interior walls are also an expression of elegance and have a classic taste!
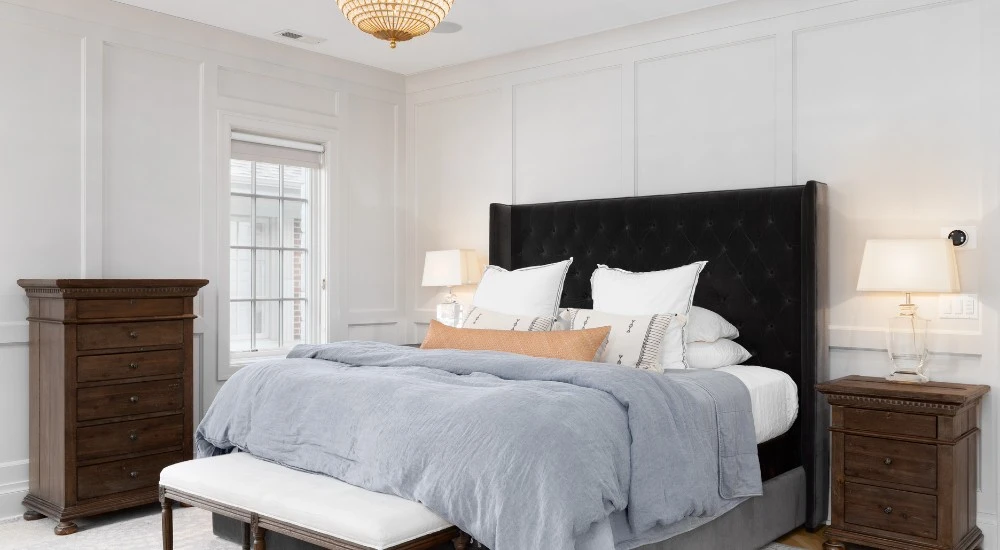
2. Bedroom Board and Batten Wall Decor Ideas

You can use the same maneuver to embellish the bedroom as well. Add some modern art to the clean white walls and create a more inviting and personalized space. Don’t forget to incorporate soft lighting and soothing colors if it is a teen bedroom design. For a sophisticated touch, consider pairing the board and batten walls with a classy black and white bedroom decor, which complements the timeless elegance of the wood patterns and creates a striking, modern contrast.
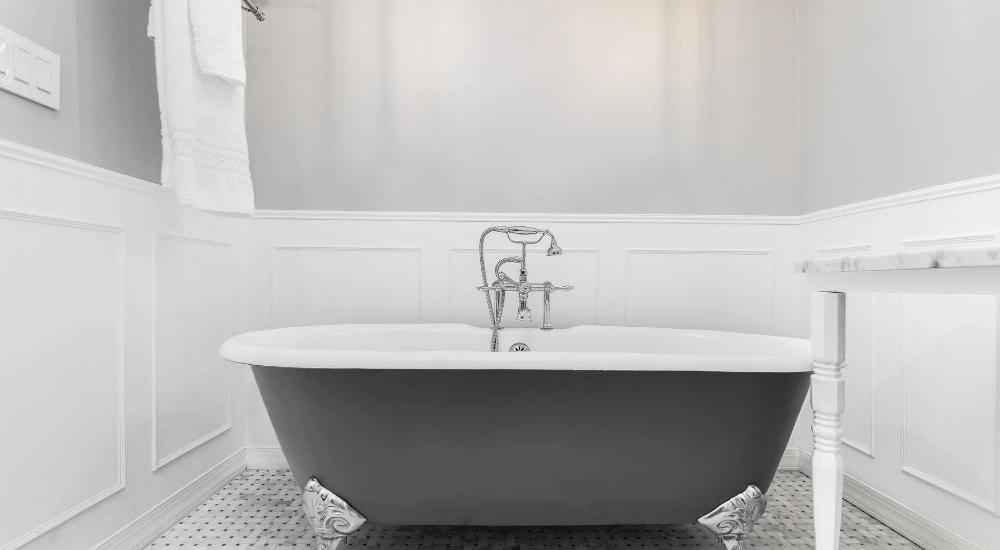
3. Restroom And Water Closet Renovation Ideas

For the sake of elevation of the restroom or water closet, using timber to create a board and batten wall is great.
4. Dining Room Design Inspirations

To enhance the dining room, using timber panels is a good choice. Darker tones or rich colors on the walls can bring depth and warmth to the space, similar to how deeper shades, like forest or mossy greens in bedroom spaces, can make a room feel grounded and intimate.
Bonus Tip: You can also get many Board and batten hallway ideas Moreover, you can also renovate your hallways by the use of wood panels and strips to make them aesthetic. Just ensure that you keep walls clean, as it can be tough for buddy people to keep sweeping walls every other day.
5. Study Makeover Tips
Creating patterns with wood in office space and study areas.
Wainscoting Vs Board and Batten Walls
Wainscoting usually occupies a wall’s lower third while Board and Batten Wall installation depends upon the dimensions of the wall and the spacing of the battens, so there is no such set parameter.
Tools and Equipment
Following are the tools that are employed for the wall decor with wood strips:
- Level
- Gap Filler
- Brad Nails (30-40 mm)
- Nail Gun
- Angled Brush
- Miter Saw
- Tape Measure
- Caulk
- Construction Adhesive
- Stud
Measurement Of Wall: Reckoning The Spaces Between Battens
You can estimate the spaces between the board and battens by this formula:
Width of the wall – (Width of individual panel X Total number of vertical panels) ÷ Number of wall spaces between vertical panels
For instance, pieces of wood were 15 in number and 5.4cm wide: Now, 15 X 5.4 = 81
Then, Subtracting it from the total width of the wall: 430-81 = 349
Now, Divide 349 by total spaces: 349 ÷ 14= 24.9 approximately equals to 25 cm .
So, I will create a space of 25 cm between all of the 15 wood panels.
How To Install Board and Batten Wall
There are two methods to make Boards and Batten Accent Wall:
- Building From Scratch (Employment of Raw/Unprepared Wood)
- Using Primed Wood
Process In Steps
Following are the steps of its installation:
- In the selection of plywood, go for oak, maple, cedar and pine. The most commonly used is pin
- You will have to clean the wall and sand it, which is supposed to be renovated first. Use a coat of primer.
- Take measurements of the wall, determine the spacing, mark the position of the timber, and then use construction adhesive to adhere the timber to the wall.
- Use studs and nail the battens into the studs for a secure fit. Use a level and miter saw to make the battens equal in size to each other.
- Bonus Tip: I prefer buying primed pines as it saves time, though it is quite expensive as compared to the other one. Always try to buy the pine that is most straight.
- Using a brad nailer can significantly speed up the installation process, providing a clean finish without the need for excessive sanding.
- Bonus Tip: Make sure to do caulking by applying the caulk!
- In addition to this, consider painting the battens before installation to achieve a professional look with minimal mess.
- You can opt for paint or stain of your own choice. For best aftermaths, apply two coats of dyes
Conclusion
Board and Batten Walls are a great choice for upgrading homes. By following our guide you can create a masterpiece and elevate the overall look of your house.


Leave a Reply